Your parents kept the family photos in shoeboxes, the 1987 beach vacation right next to your grandparents' wedding. The colors are fading, and your mom would love to flip through them on her iPad.
You can skip the flatbed scanner. The Camera app can do the job, and so can the document scanner in Notes and Files, though neither was made with old prints in mind.
Before you start: light and glare
Glare ruins more scanned photos than anything else, especially on glossy prints. To avoid it:
- Turn off the flash. On glossy paper, it leaves a bright white spot.
- Light the print from the side, say from a window, not from a lamp right above it. That also keeps the shadow of your iPhone off the photo.
- If you still see a reflection on the screen, move the print or the light a little, not the phone.
- Lay the print on something dark and matte, so its edges stand out.
- Wipe the camera lens. A fingerprint makes every picture look hazy.
Scan a photo with the Camera app
Hold your iPhone straight above the print, close enough that it fills most of the screen, and take the picture. Then tidy it up in the Photos app:
- Open the picture, tap the Edit button, then the Crop button.
- Tap the lock at the top right to unlock the aspect ratio, then drag the corners of the frame to the edges of the print.
- If the print looks skewed because you held the phone at a slight angle, tap one of the buttons below the frame to straighten or tilt it, then drag the slider.
- Tap Done.
Scan a photo with Notes or Files
The document scanner in Notes and Files finds the edges of the print and corrects the angle for you, the same way it does with a letter. How to Scan Documents on iPhone walks you through it. Turn the scanner's flash off, too.
The catch is that this scanner is made for paperwork. What you get is a PDF, in a note or in a folder in Files, not a picture in your photo library. So your grandparents' wedding won't show up in Photos next to the rest of your pictures.
A whole box of photos with QuickScan
With the Camera app, every print means the same routine: take the picture, open it in Photos, Edit, Crop, unlock the aspect ratio, drag four corners, straighten it if needed, Done.
With QuickScan, you lay the prints under your iPhone one after another, and it snaps each one as soon as it sees the edges. When the stack is done, tap Save and export the pages as images. Like the scanner in Notes, it straightens each print, but what comes out at the end is pictures, not a PDF.
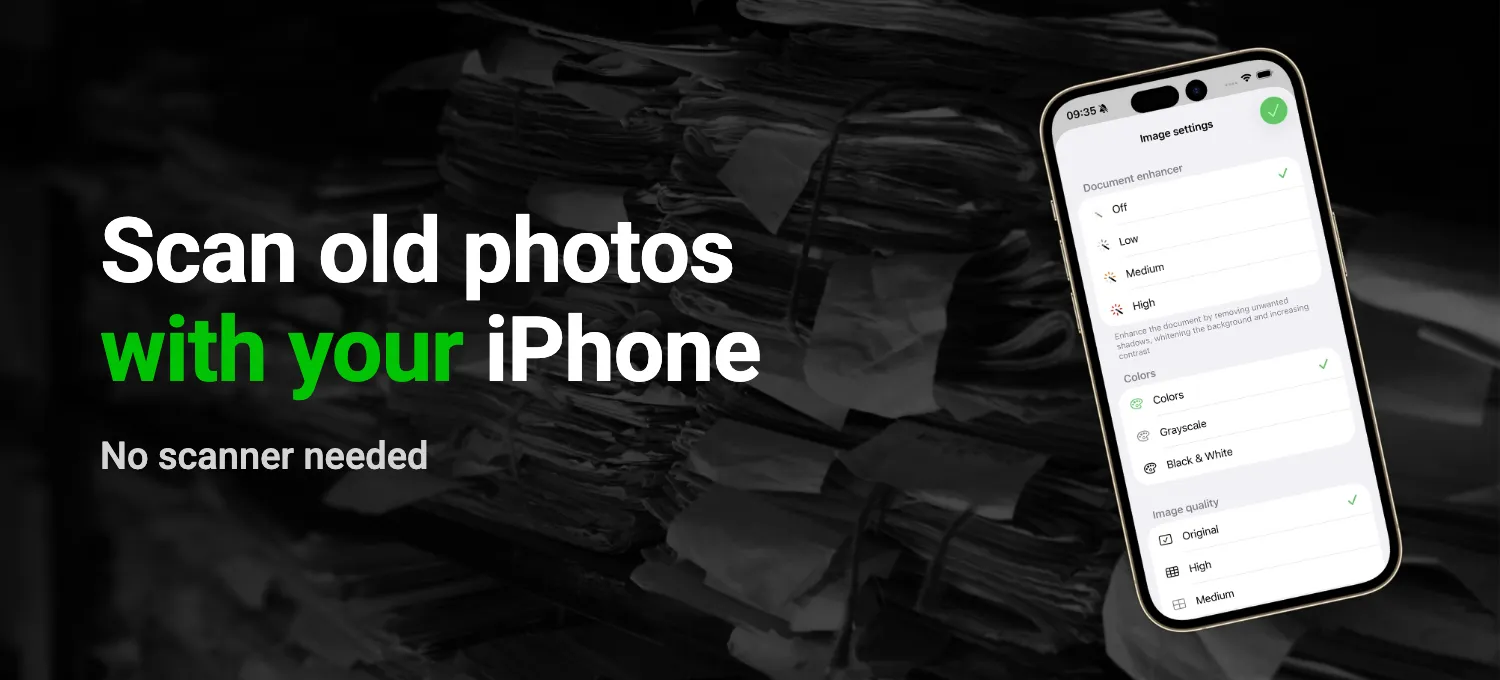
Photos need different settings than letters, so set them once before you start. In Settings, under Image Settings, turn off the Document enhancer. It whitens paper and boosts the contrast, which is great for a letter and terrible for a sunset. Keep Colors, set both Image quality and Image size (resolution) to Original, and while you're in Settings, set Default flash mode to Off. When you go back to scanning letters, turn the enhancer back on.
Exported as JPG images, the scans go to Photos through the share sheet, or by AirDrop to your mom's iPad. In Photos, they show up under today's date. To move the beach photos back to 1987, tap Select, tap the photos, then tap the More button, Adjust Info and Adjust Date & Time.
With an Export Favorite, the scans go straight into a folder instead, say "Family photos" in iCloud Drive or on your NAS, with file names in the format you've set up. And if a corner didn't land quite right, Adjust corners fixes that page by hand before you export.
Scanning your family photos is personal use, and for that QuickScan is free, with no ads, no account and no subscription. It doesn't upload anything either, so the photos only end up where you export them.

Continue reading:
- How to Scan Documents on iPhone (and a Faster Way)
- How to Make a PDF on iPhone (and Convert Photos to PDF)
Sources: Apple Support, Crop, rotate, flip, or straighten photos and videos on iPhone, Scan text and documents in Notes using the iPhone camera and See photo and video information on iPhone (checked November 2026).