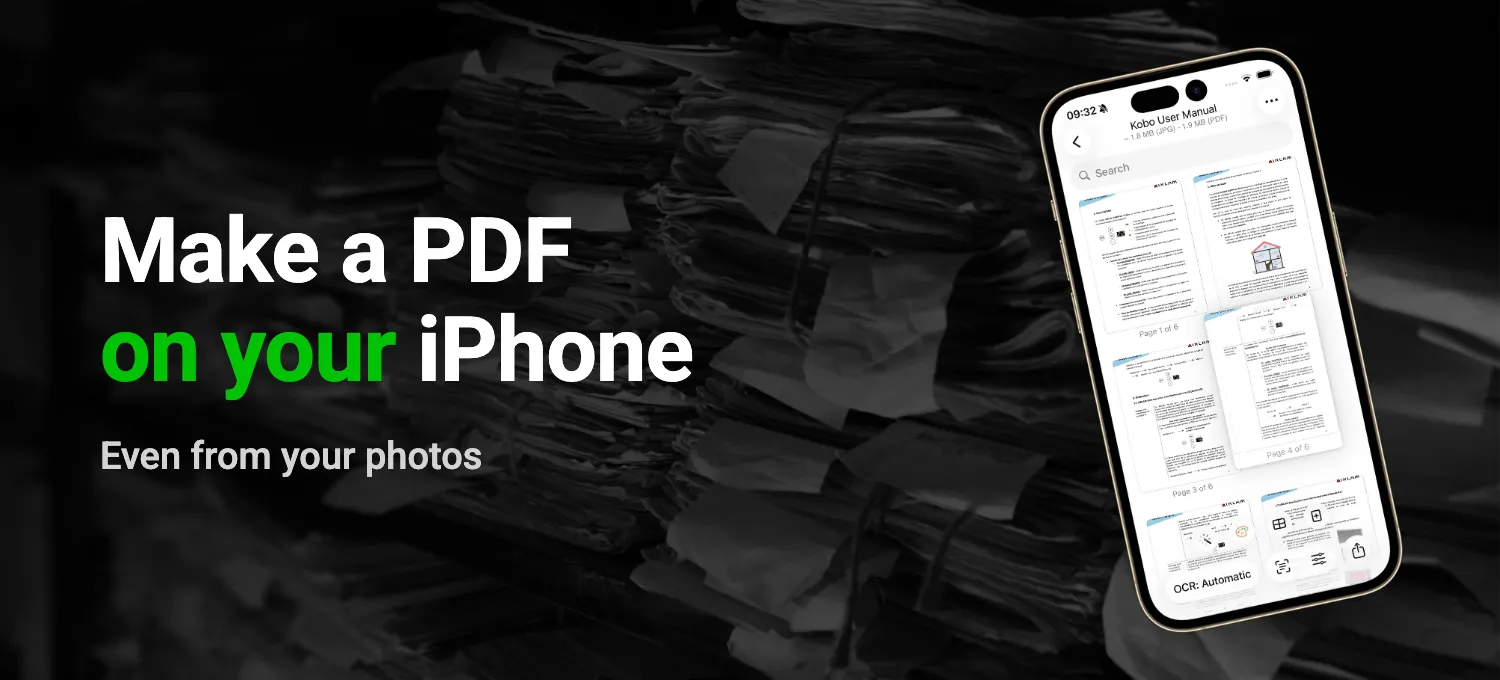
You've found the car you want, and your bank needs two recent pay stubs and a photo ID for the loan, uploaded as one PDF. You have all three, but only as photos in your camera roll, because that's how paper ends up on a phone. It's the same when your kid's summer camp asks for their vaccination record, or when an insurance claim form only takes PDFs.
Your iPhone can turn photos into a PDF on its own, in the Files app or, since iOS 26, in Preview. What it won't do is clean up the photos, as you'll notice the first time you send the bank a PDF that's really three snapshots of paper on a kitchen table. Below are the steps for both apps and for merging PDFs, followed by what QuickScan does differently.
Still have the paper? Scan it instead
If the document is right in front of you, don't take a photo of it. Scan it. The scanner in Notes and Files crops away the table and straightens the page, and Files saves the scan straight into a folder as a PDF. All the steps are in How to Scan Documents on iPhone.
Save a web page as a PDF in Safari
An order confirmation or a form you filled out online is already on your screen, so there's nothing to photograph. Safari can save the page itself as a PDF.
- Open the page in Safari and tap the Share button. If you don't see it, tap the Page Menu button first, then Share.
- Tap Markup. You can draw or write on the page, or leave it as it is.
- Tap the Done button, choose Save File To, give the file a name and tap Save.
The rest of this post is about the photos you already have.
Turn photos into a PDF in the Files app
Files only works with what's in Files, so the photos have to go there first.
- In Photos, tap Select, pick the photos, tap the Share button and choose Save to Files. Pick a folder and tap Save.
- Open the Files app and go to that folder.
- For a single photo, touch and hold it, then tap Quick Actions and Create PDF.
- For several photos, tap the More button, then Select. Select the photos, tap the More button again and choose Create PDF.
The PDF appears in the same folder, next to the photos. Open it to check that the pages are in the right order, then rename it so the bank can tell what it is.
Or use the Preview app
Preview came to the iPhone with iOS 26. It opens images and PDFs that are stored in Files, so again, the photo has to go there first.
- Open Preview, tap Browse and open the photo.
- Tap the Actions Menu button next to the file name, then Export.
- Choose PDF. Depending on your version of iOS, a slider or an Optimize Images for Screen switch makes the file smaller. iOS 27 also adds Embed Text, which recognizes the text so you can search the PDF later.
- Tap the Done button, choose where to save the PDF, rename it if you like and tap Save.
That gives you one page. For the next photo, open the PDF, tap the Show Sidebar button to see the page thumbnails, touch and hold a thumbnail and tap Insert from File, then pick the photo. You repeat that for every page you add.
Merge several PDFs into one
Insert from File in Preview takes PDFs as well. Open the first PDF, show the thumbnails, touch and hold one and insert the next file. If a page ends up in the wrong place, touch and hold its thumbnail and drag it above or below another one.
What the built-in tools leave to you
Neither app turns a photo of a page into a clean page. The PDF shows exactly what the camera saw, including the edge of the table and the shadow of your hand, often with the paper a little crooked. Preview lets you crop and rotate a photo by hand, but it doesn't remove shadows or straighten a page shot at an angle. Once you've cropped the photos, your ID and the pay stubs end up as pages of very different sizes. Photos from a recent iPhone are also big enough that a handful of pages can go over the size limit of an upload form.
Photos to PDF with QuickScan
With Files, you pick the photos in Photos, save them to a folder, open Files, pick the same photos a second time and create the PDF. Then you rename it and move it to the right folder, or attach it to an email.
With QuickScan, you tap Import, choose Existing photos, select the pay stubs and the ID, and export. The photos come straight from your photo library, and with an Export Favorite, the PDF gets the name you've set up and goes where it belongs, such as a folder in iCloud Drive.
Need one more page later? Add page(s) takes another photo, a PDF or an image from Files, or a page scanned with the camera, and Reorder pages lets you drag them into order. Documents you already have in QuickScan can go out as a single file too: select them in the list and choose Export in one PDF.
QuickScan also cleans up the pages. The document enhancer removes shadows and whitens the background, so a photo taken under the kitchen light could pass for a scan. In Settings, PDF Dimensions gives every page the same size, with the photo scaled to fit and white margins if you want them. And before you export, QuickScan shows the estimated file size. If it's too big for the upload form, lower the image quality or size until it fits.
Turn on text recognition (OCR), and the PDF becomes searchable, so you can find the document later by searching for a word in it and copy text from it. If it has personal details on it (and a pay stub does), QuickScan can protect the PDF with a password.
QuickScan costs nothing for personal use. It shows no ads and needs no account or subscription, and your pay stubs don't leave your iPhone until you send them.

Continue reading:
- How to Scan Documents on iPhone (and a Faster Way)
- How to Sign a Document on iPhone (With Your Real Signature)
- How to Make a PDF Searchable on iPhone (and Mac)
Sources: Apple Support, Annotate and save a webpage as a PDF in Safari on iPhone, Export or compress PDFs and images in Preview on iPhone and Add, delete, rotate, move, or crop PDF pages in Preview on iPhone (checked November 2026).